
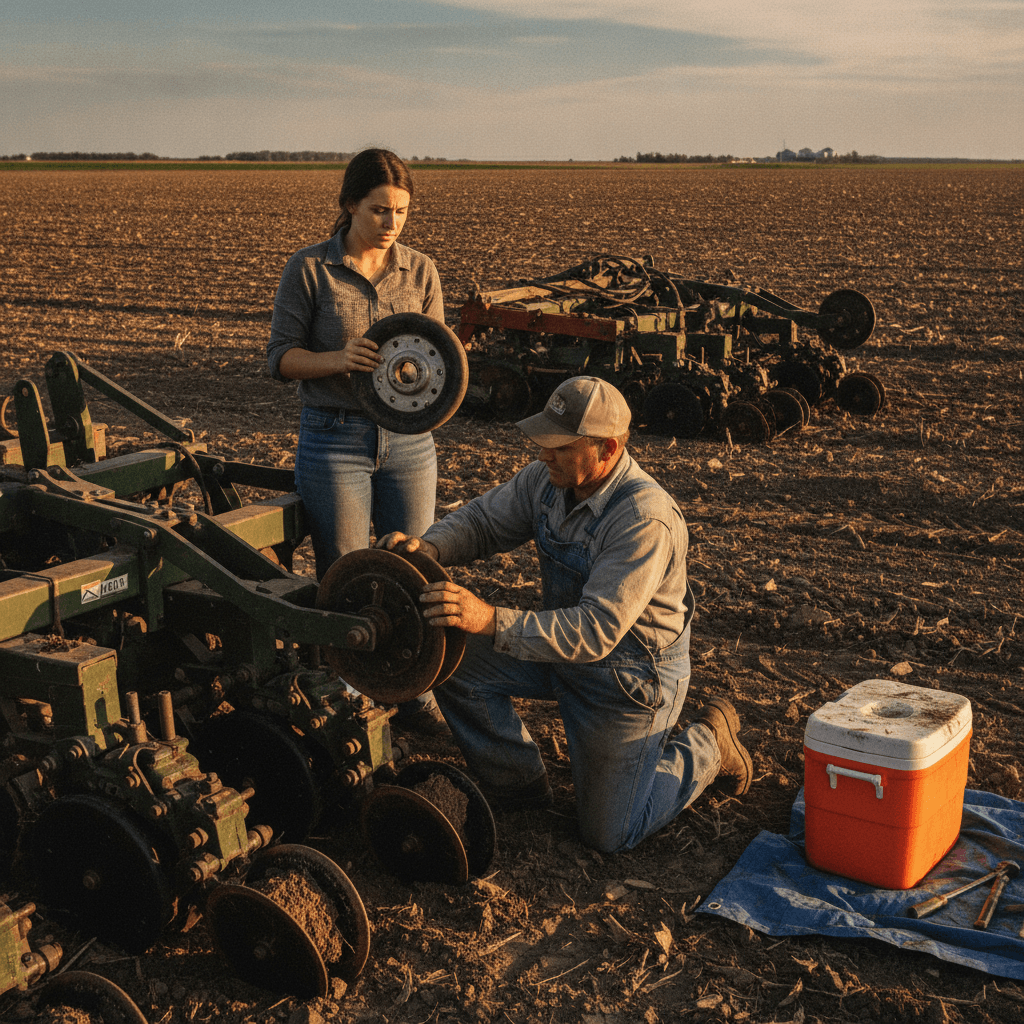
How Do You Properly Install a Wheel Retainer on a Planter Near Ipswich — And Why Most Farmers Skip a Step That Costs Them Later
Yes, you can install a wheel retainer yourself in the shop, and yes, it’s straightforward — but there’s a specific step most operators skip that causes the gauge wheel to work loose anyway, usually in the middle of a field when you can least afford the stop. Farmers near Ipswich and throughout South Dakota deal with enough spring complications — wet fields, shrinking planting windows, gumbo soil — without adding a preventable equipment failure to the list. This article walks through correct installation, what to watch for, and why it matters more than most people think.
Why Wheel Retainers Exist in the First Place
Your gauge wheel does one job: hold planting depth. But the gauge wheel itself has to stay on the machine to do that job. In hard field conditions — rocks, frozen clods, heavy residue in no-till situations — a gauge wheel can get knocked off its mount. Without a retainer holding it in position, there’s nothing stopping that from happening.
A wheel retainer is a simple locking device that keeps the gauge wheel seated securely on the planter or air seeder. It prevents dislodging, period. But the part only works if it’s installed correctly. Install it sloppy, and you’ve added false confidence without actually solving the problem.
Step-by-Step: Correct Wheel Retainer Installation
Step 1 — Clean the Mount Before You Start
This is the step most people skip. Dirt, rust, and old grease on the spindle or hub area will prevent the retainer from seating flush. If it’s not seated flush, it won’t hold under field stress. Take five minutes with a wire brush and a rag before you put the retainer anywhere near the machine. This is especially true if you’re doing this swap in spring after the planter sat over winter — corrosion happens fast on painted cast iron in a South Dakota barn.
Step 2 — Check Your Gauge Wheel for Wear First
Don’t install a retainer on a worn-out wheel. If the wheel itself is cracked, severely worn, or has a wobble to it, the retainer can’t compensate for that. Inspect the wheel before installation. If it needs replacing, replace it first. Installing a retainer on a bad wheel gives you a securely-mounted problem instead of a loose one.
Step 3 — Seat the Gauge Wheel Completely
Before placing the retainer, make sure the gauge wheel is fully seated on the spindle. Push it all the way in. You should feel or hear it seat against the stop. If it’s only 90% of the way on when you apply the retainer, it’ll look fine in the shop and start migrating outward under load in the field. This is the second most common install mistake.
Step 4 — Install the Retainer and Verify Engagement
Slide or snap the retainer into position per the manufacturer’s instructions. For Jung Enterprise’s wheel retainer, this is a straightforward install designed to be done without special tools. Once it’s on, tug the gauge wheel outward with moderate force. It should not move. If there’s any play or the retainer feels like it’s barely catching, stop — something isn’t seated right. Don’t assume the field will sort it out. It won’t.
Step 5 — Check Every Row Unit, Not Just One
If you’re retrofitting retainers across a 16- or 24-row planter, check every single unit after installation. It takes more time, but a dislodged gauge wheel on row 14 is just as costly as one on row 1. Farmers running custom planting operations near Aberdeen and Huron running large planters over multiple farms especially can’t afford to skip this.
The Installation Mistake Competitors Don’t Talk About
Most product pages — across competitors and OEM parts suppliers alike — show you the part and tell you it prevents dislodging. What they don’t walk you through is the sequence: clean first, verify seating before you lock it, and confirm engagement after. That gap in guidance is why some operators install a retainer correctly by the numbers but still lose a gauge wheel three days into planting season.
The retainer isn’t magic. It’s a mechanical lock. Mechanical locks work when mating surfaces are clean, parts are fully seated, and engagement is confirmed. Skip any of those and you’ve added a part without adding protection.
When to Install — And When to Check Again
The ideal time to install or inspect wheel retainers is during pre-season maintenance in late winter or early spring — February and March for most operations in South Dakota and North Dakota. That gives you time to order replacements if something doesn’t look right, without the pressure of a planting window closing on you.
After your first field pass of the season, pull into a headland and do a quick visual check on each row unit. Look for gauge wheels that have shifted position or show movement. If you’re planting in heavy residue, no-till ground, or fields with rocky patches — common in the northern parts of South Dakota — do that check more frequently early in the season until you’ve confirmed everything is holding.
Farmers running Jung Enterprise’s full lineup often pair the wheel retainer with the curved spoked gauge wheels and the steel ring in a complete row-unit upgrade. That combination addresses dislodging, mud plugging, and tire wear in one installation session — which is a lot more efficient than addressing each problem separately mid-season.
Frequently Asked Questions
Does a wheel retainer fit all planter brands?
Not universally — fit depends on gauge wheel diameter and hub configuration. Jung Enterprise’s wheel retainer is designed to be compatible across common planter and air seeder configurations, but confirm your gauge wheel size before ordering. If you’re unsure, contact us with your planter make and model.
Can I install a wheel retainer in the field if a gauge wheel comes off?
You can, but it’s not ideal. You want a clean surface and a few minutes to do it right. If you’re installing roadside during planting, at least wipe down the spindle with whatever you have before you seat the wheel. A rushed field install on a dirty mount is better than running without the wheel, but plan to check it again at the end of the day.
How long does installation take per row unit?
If your gauge wheels are already off for inspection or replacement, add maybe five minutes per unit. If you’re installing retainers on a planter that’s already assembled, count on ten to fifteen minutes per unit including the cleaning step. On a 16-row planter, block out a half day to do it right.
Do I need any special tools?
No. Jung Enterprise’s wheel retainer installs without specialty tools. A wire brush for cleaning and basic hand tools are all you need. It’s designed to be a shop-level install, not a dealer-level one.
Can I use a wheel retainer on a no-till drill?
Yes. No-till drills are actually where proper gauge wheel retention matters most, because you’re running through heavier residue and unpredictable surface conditions. If you’re operating a no-till drill near Ipswich or across the Northern Plains, this is a part worth having on every row unit.
Get the Right Parts Before Planting Season
Jung Enterprise is located right here in Ipswich, South Dakota, and we manufacture these parts for working farms — not for a catalog. If you want to talk through what your planter needs before the season starts, or if you’ve got a compatibility question on a specific drill or planter model, reach out directly. We’ll give you a straight answer.
Contact Jung Enterprise here — or call us at (605) 281-0497. Don’t wait until you’re three days into planting to figure out a gauge wheel problem you could have solved in February.